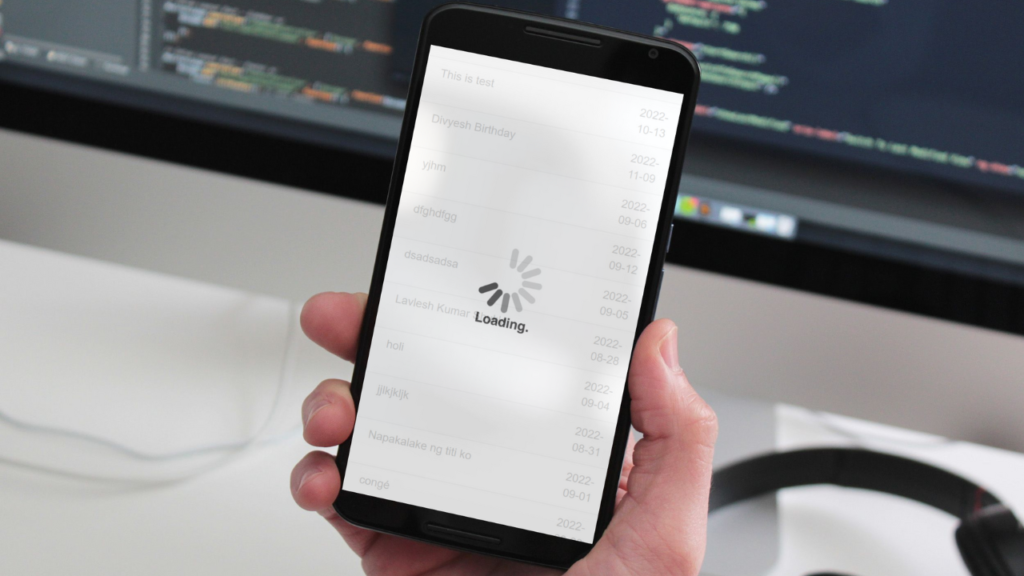
In this blog we will fetching data from database when we scroll the page and also this code works fine on desktop browsers and mobile browsers. Whenever the page scrolling at end of the page it trigger the ajax request to det data from database and load specified list of the data at the end of the page.
Configure the following steps to load more data from the database on scrolling.
Step 1: Create a table in MySQL
CREATE TABLE `calendar_event_master` (
  `event_id` int(11) NOT NULL AUTO_INCREMENT,
  `event_name` varchar(255) DEFAULT NULL,
  `event_start_date` date DEFAULT NULL,
  `event_end_date` date DEFAULT NULL,
  PRIMARY KEY (`event_id`)
) ENGINE=InnoDB DEFAULT CHARSET=latin1;
Step 2: Insert some sample data
insert into `calendar_event_master`(`event_name`,`event_start_date`,`event_end_date`) values ('Test Event1','2022-10-01','2022-10-02');
insert into `calendar_event_master`(`event_name`,`event_start_date`,`event_end_date`) values ('Test Event2','2022-10-01','2022-10-02');
insert into `calendar_event_master`(`event_name`,`event_start_date`,`event_end_date`) values ('Test Event3','2022-10-01','2022-10-02');
insert into `calendar_event_master`(`event_name`,`event_start_date`,`event_end_date`) values ('Test Event4','2022-10-01','2022-10-02');
insert into `calendar_event_master`(`event_name`,`event_start_date`,`event_end_date`) values ('Test Event5','2022-10-01','2022-10-02');
Please execute above insert script for 10 to 20 times because you must required more data into the table for testing your load more content on scrolling.
Step 3: Create one file like index.php
Include below some JavaScript and custom CSS inside this file.
<script src="https://cdnjs.cloudflare.com/ajax/libs/jquery/3.6.0/jquery.min.js"></script>
<script src="https://maxcdn.bootstrapcdn.com/bootstrap/3.4.1/js/bootstrap.min.js"></script>
<link rel="stylesheet" href="https://maxcdn.bootstrapcdn.com/bootstrap/3.4.1/css/bootstrap.min.css">
<style type="text/css">
    .loader-div {
        display: none;
        position: fixed;
        margin: 0px;
        padding: 0px;
        right: 0px;
        top: 0px;
        width: 100%;
        height: 100%;
        background-color: #fff;
        z-index: 30001;
        opacity: 0.8;
    }
    .loader-img {
        position: absolute;
        top: 0;
        bottom: 0;
        left: 0;
        right: 0;
        margin: auto;
    }
</style>
Step 4: Write some HTML code to display dynamic data
<body>
  <div class="container">
    <div class="row">
      <div class="col-sm-12">
        <table class="table table-striped">
          <thead>
            <tr>
              <th>Event #</th>
              <th>Event name</th>
              <th>Start date</th>
              <th>End date</th>
            </tr>
          </thead>
          <tbody id="dynamic_data"></tbody>
        </table>
        <center>
          <button type="button" class="btn btn-success" onclick="display_data()">Load more</button>
        </center>
        <input type="hidden" id="rowcount" name="rowcount" value="0">
      </div>
      <!-- end col -->
    </div>
    <!--  end row -->
  </div>
  <br>
  <center>Developed by <a href="https://shinerweb.com/">Shinerweb</a>
  </center>
  <div class="loader-div">
    <img class="loader-img" src="ajax-loader.gif" style="height: 120px;width: auto;" />
  </div>
</body>
In above code we created one simple table where we will show our dynamic data which is display while scrolling. Here we take id=”dynamic_data” to display dynamic data and id=”rowcount” to store last record number.
Step 4: Make AJAX call to get data from database
<script type="text/javascript">
  display_data();

  function display_data() {
    var rowcount = $("#rowcount").val();
    $(".loader-div").show(); // show loader
    $.ajax({
      url: "display_data.php",
      type: "POST",
      data: {
        rowcount: rowcount
      },
      dataType: 'json',
      success: function(response) {
        if (response.status == true) {
          $("#rowcount").val(response.rowcount);
          $('#dynamic_data').append(response.data);
          $(".loader-div").hide(); // hide loader
        } else {
          $(".loader-div").hide(); // hide loader
          alert(response.msg);
        }
      },
      error: function(xhr, status) {
        $(".loader-div").hide(); // hide loader
        console.log('ajax error = ' + xhr.statusText);
        alert(response.msg);
      }
    });
  }
</script>
In above code we created one function display_data() which helpful to get data from the database this function we will call while scroll bar will go at end of the page or where we have set our trigger point and that trigger point we have declare in next step.
Step 5: Write a logic to trigger function on scrolling
<script type="text/javascript">
  var addition_constant = 0;
  $(document.body).on('touchmove', onScroll); // for mobile
  $(window).on('scroll', onScroll);

  function onScroll() {
    var addition = ($(window).scrollTop() + window.innerHeight);
    var scrollHeight = (document.body.scrollHeight - 1);
    if (addition > scrollHeight && addition_constant < addition) {
      addition_constant = addition;
      display_data();
    }
  }
</script>
Here we are using touchmove for mobile device and also scrollTop() method use to get our window size and also we check condition and trigger our function display_data().
Step 7: Create database connection file
<?php
$hostname = "localhost";
$username = "your_user";
$password = "your_password";
$database = "your_database";
$con=mysqli_connect($hostname,$username,$password,$database);
?>
Put above code in database_connection.php file and write your database credentials.
<?php
$hostname = "localhost";
$username = "your_user";
$password = "your_password";
$database = "your_database";
$con=mysqli_connect($hostname,$username,$password,$database);
?>
Put above code in database_connection.php file and write your database credentials.
Step 8: Create one more file to fetch data from the database.
<?php
require "database_connection.php";
$last_rowcount = $_POST["rowcount"];
$rowcount = $_POST["rowcount"] + 25; //set next row count for load more data
$display_query = "select event_id,event_name,event_start_date,event_end_date from calendar_event_master order by event_id asc limit $last_rowcount,25";
$results = mysqli_query($con, $display_query);
$count = mysqli_num_rows($results);
if ($count > 0) {
    $dynamic_data = "";
    while ($data_row = mysqli_fetch_array($results, MYSQLI_ASSOC)) {
        $dynamic_data .=
            "<tr><td>" .
            $data_row["event_id"] .
            "</td><td>" .
            $data_row["event_name"] .
            "</td><td>" .
            $data_row["event_start_date"] .
            "</td><td>" .
            $data_row["event_end_date"] .
            "</td></tr>";
    }
    $data = [
        "status" => true,
        "rowcount" => $rowcount,
        "msg" => "Successfully!",
        "data" => $dynamic_data,
    ];
} else {
    $data = [
        "status" => false,
        "msg" => "Error!",
    ];
}
echo json_encode($data);
?>
In above code first we have included database_connection.php file for database connection. After that we have store rowcount to track or to handle our data limit logic.
Write a query to get first data and sent as response by using json_encode() method.
Here we provide ready reference code and live demo which is helpful for your further project or assignments.