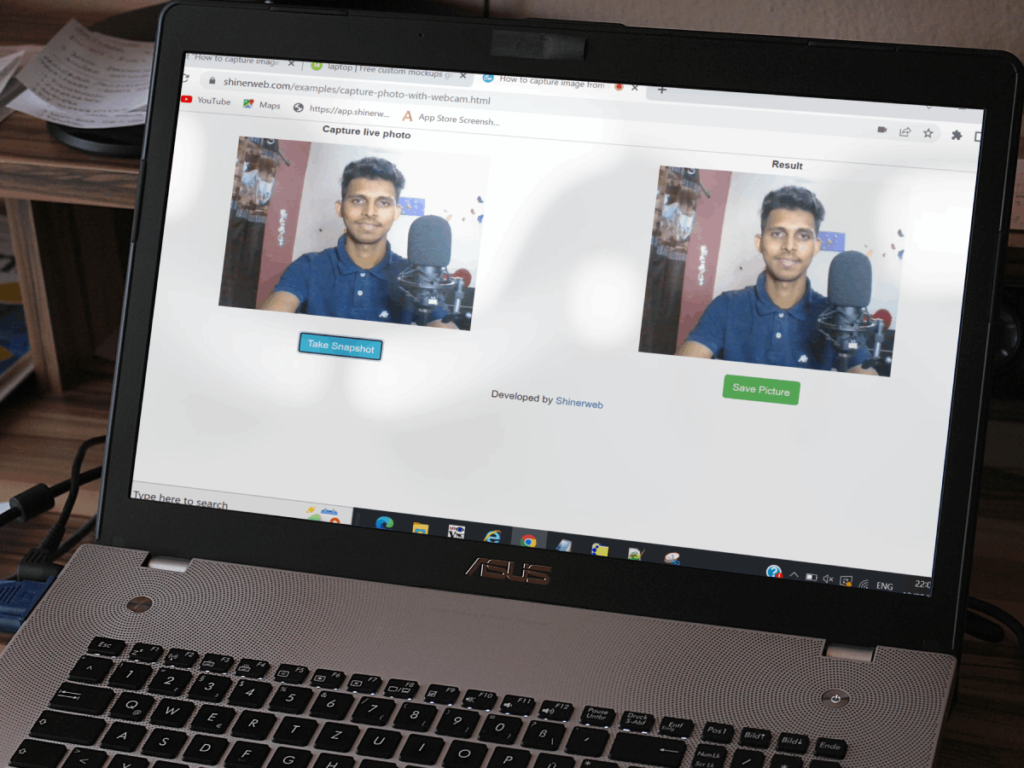
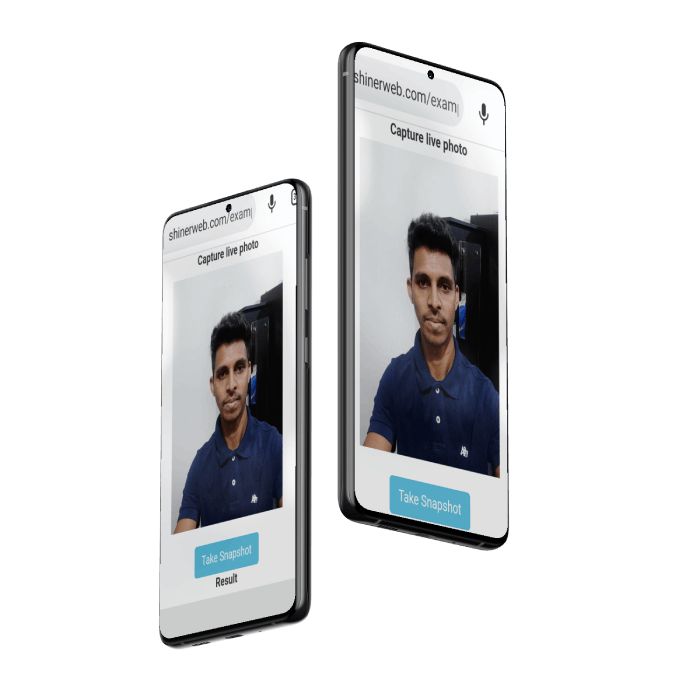
In this blog we will create one demo to capture an image by using webcam. You can also capture an image from mobile camera. We are using webcam.js JavaScript library to take a picture of user from webcam or mobile camera and also save it on sever with the help of PHP.
So, let’s not waste any more time and jump into the code implementation.
Step 1: First you need to create one file like capture-photo-with-webcam.html and include below required library.
<!-- Required library for webcam -->
<script src="https://cdnjs.cloudflare.com/ajax/libs/jquery/3.6.0/jquery.min.js" ></script>
<script type="text/javascript" src="https://cdnjs.cloudflare.com/ajax/libs/webcamjs/1.0.24/webcam.js"></script>
<!-- Bootstrap theme -->
<link rel="stylesheet" href="https://maxcdn.bootstrapcdn.com/bootstrap/3.4.1/css/bootstrap.min.css">
<script src="https://maxcdn.bootstrapcdn.com/bootstrap/3.4.1/js/bootstrap.min.js"></script>
In above code we included jquery.min.js and webcam.js javascript library which is needed to capture an image from webcam and mobile camera.
We also have included bootstrap.min.css and bootstrap.min.js because we are using bootstrap framework for web designing.
Step 2: Now we need to create a section for streaming the video captured from the camera, where the user will see their live video, to pose, and finally capture a photo. Add below code inside <body> tag.
<div class="container">
  <div class="row">
	<div class="col-lg-6" align="center">
		<label>Capture live photo</label>
		<div id="my_camera" class="pre_capture_frame" ></div>
		<input type="hidden" name="captured_image_data" id="captured_image_data">
		<br>
		<input type="button" class="btn btn-info btn-round btn-file" value="Take Snapshot" onClick="take_snapshot()">
	</div>
	<div class="col-lg-6" align="center">
		<label>Result</label>
		<div id="results" >
			<img style="width: 350px;" class="after_capture_frame" src="image_placeholder.jpg" />
		</div>
		<br>
		<button type="button" class="btn btn-success" onclick="saveSnap()">Save Picture</button>
	</div>
  </div><!--  end row -->
</div><!-- end container -->
In above code we create two button one is for Take Snapshot and another is Save Picture which is used for upload captured image upload on server.
Step 3: We need to configure some javascript code. Add below code after the </body> tag.
<script language="JavaScript">
	 // Configure a few settings and attach camera 250x187
	 Webcam.set({
	  width: 350,
	  height: 287,
	  image_format: 'jpeg',
	  jpeg_quality: 90
	 });
	 Webcam.attach( '#my_camera' );

	function take_snapshot() {
	 // play sound effect
	 //shutter.play();
	 // take snapshot and get image data
	 Webcam.snap( function(data_uri) {
	 // display results in page
	 document.getElementById('results').innerHTML =
	  '<img class="after_capture_frame" src="'+data_uri+'"/>';
	 $("#captured_image_data").val(data_uri);
	 });
	}

	function saveSnap(){
	var base64data = $("#captured_image_data").val();
	 $.ajax({
			type: "POST",
			dataType: "json",
			url: "capture_image_upload.php",
			data: {image: base64data},
			success: function(data) {
				alert(data);
			}
		});
	}
</script>
In above code we created two functions take_snapshot() and saveSnap(). First function is used for capture an image and second function will be use for save or uploaded that captured image on server.
Step 4: Create one file capture_image_upload.php and write some below php code to upload an image on server.
<?php
$folderPath = 'capture_images/';
$image_parts = explode(";base64,", $_POST['image']);
$image_type_aux = explode("image/", $image_parts[0]);
$image_type = $image_type_aux[1];
$image_base64 = base64_decode($image_parts[1]);
$file = $folderPath . uniqid() . '.png';
file_put_contents($file, $image_base64);
echo json_encode(["Image uploaded successfully."]);
?>
Step 5: Finally create one folder like capture_images where we will store all the captured images.

Also set permission mode is 777 on the capture_images folder.
Note*: This demo will work in https domain or if you don’t have then it will be working in Mozilla Firefox browser.

